
The Sensor Selection Matrix: 1-Wire vs I2C
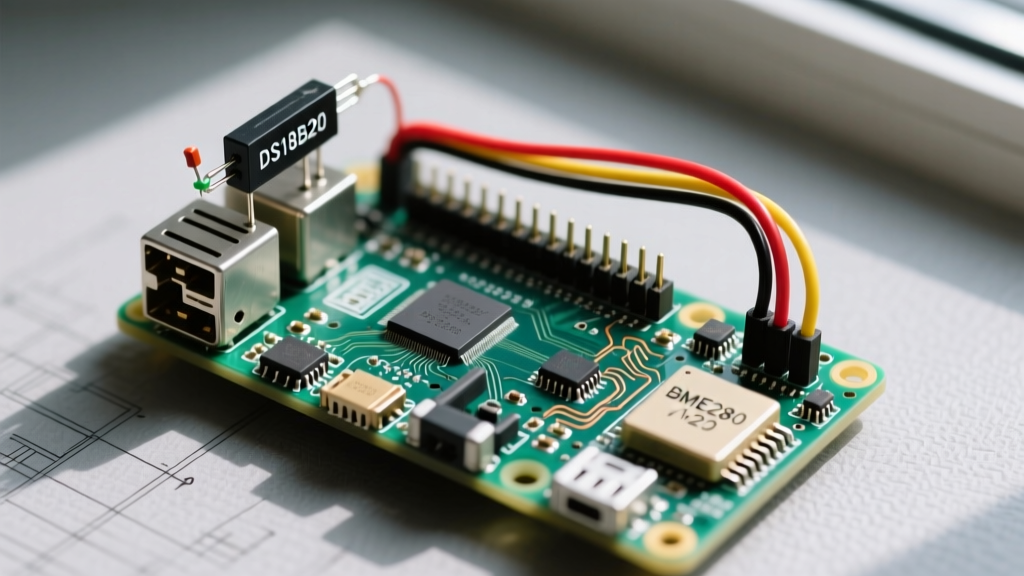
Integrating a reliable temperature sensor for Raspberry Pi is a foundational skill for DIY smart home enthusiasts, server rack monitors, and Home Assistant automations. While the Pi's internal CPU thermal sensor is useful for preventing throttling, it tells you nothing about the ambient environment. To measure room temperature, liquid temperatures, or external enclosures, you must interface external silicon. The two undisputed champions in the maker space are the Maxim/Analog Devices DS18B20 (1-Wire) and the Bosch BME280 (I2C).
Choosing between them depends entirely on your physical environment and data requirements. Below is a decision matrix to help you select the correct hardware for your specific build.
| Feature | DS18B20 (Waterproof Probe) | BME280 (Breakout Board) | DHT22 (Legacy) |
|---|---|---|---|
| Protocol | 1-Wire (Requires Pull-Up) | I2C / SPI | Single-Bus (Timing Critical) |
| Accuracy | ±0.5°C (from -10°C to +85°C) | ±1.0°C | ±0.5°C |
| Measurement Range | -55°C to +125°C | -40°C to +85°C | -40°C to +80°C |
| Extra Sensors | None (Temperature Only) | Humidity & Barometric Pressure | Humidity |
| Best Use Case | Liquids, outdoors, long cables | Indoor HVAC, server rooms | Legacy projects (Avoid) |
Project 1: Waterproof DS18B20 1-Wire Integration
The DS18B20 is the gold standard for measuring liquid temperatures (like homebrewing or aquariums) and outdoor environments. It communicates over the 1-Wire protocol, meaning the data line is bidirectional and requires a specific hardware configuration to function correctly on the Pi's GPIO header.
Hardware Wiring and Pull-Up Resistor Physics
The 1-Wire protocol uses an open-drain architecture. The Raspberry Pi can pull the data line LOW, but it cannot drive it HIGH. Therefore, an external pull-up resistor is mandatory to return the line to 3.3V. According to the Analog Devices DS18B20 Datasheet, a standard 4.7kΩ resistor is required for standard cable lengths.
- VDD (Red Wire): Connect to Pin 1 (3.3V DC Power).
- GND (Black Wire): Connect to Pin 6 (Ground).
- Data (Yellow/White Wire): Connect to Pin 7 (GPIO 4).
- Resistor: Place a 4.7kΩ resistor between the 3.3V line and the Data line.
Expert Note on Parasitic Power: The DS18B20 supports 'parasitic power' mode, where it draws power directly from the data line capacitor during temperature conversions. However, the Raspberry Pi's GPIO pins cannot supply the required transient current (up to 1.5mA) reliably. Always use the external 3.3V VDD wiring configuration to prevent corrupted CRC checksums.
Enabling 1-Wire on Raspberry Pi OS Bookworm
With the transition to Raspberry Pi OS Bookworm, the boot configuration file has moved. You must edit the config file to load the w1-gpio device tree overlay.
sudo nano /boot/firmware/config.txt

# Add this line to the bottom of the file:
dtoverlay=w1-gpio,gpiopin=4
Reboot your Pi. Once restarted, the kernel will scan the bus and create a directory for your sensor under /sys/bus/w1/devices/.
Project 2: BME280 I2C Environmental Monitoring
If you are building an indoor Home Assistant node to track room climate, the BME280 is vastly superior. It provides temperature, relative humidity, and barometric pressure over the I2C bus. Because I2C is a multi-master, multi-slave bus, you can daisy-chain dozens of sensors without running out of GPIO pins.
I2C Bus Configuration and Pi 5 Specifics
Wire the BME280 breakout board to the Pi's primary I2C bus:
- VIN: 3.3V (Pin 1)
- GND: Ground (Pin 9)
- SCL: GPIO 3 (Pin 5)
- SDA: GPIO 2 (Pin 3)
Pi 5 Architecture Note: The Raspberry Pi 5 utilizes the new RP1 southbridge chip. Unlike the BCM2711 on the Pi 4, the RP1 handles I2C clock stretching natively in hardware. This eliminates the notorious Remote I/O error that plagued Pi 4 users when reading Bosch sensors. For Pi 4 and older users, you must reduce the I2C baudrate in /boot/firmware/config.txt to prevent clock-stretching timeouts:
dtparam=i2c_arm=on
dtparam=i2c_arm_baudrate=10000
Verify your wiring by scanning the I2C bus. The BME280 default address is usually 0x76 or 0x77.
sudo apt install i2c-tools
i2cdetect -y 1
Python Data Acquisition Scripts
To pull this data into your Home Assistant MQTT broker or a local SQLite database, we use Python. Ensure you have installed the necessary libraries: pip3 install w1thermsensor smbus2 RPi.bme280.
Reading the DS18B20
The w1thermsensor library abstracts the kernel file reading, handling the CRC validation automatically.
from w1thermsensor import W1ThermSensor

sensor = W1ThermSensor()
temperature_c = sensor.get_temperature()
print(f'Ambient Liquid Temp: {temperature_c:.2f}°C')
Reading the BME280
For the BME280, we use the smbus2 library combined with the Pimoroni BME280 Python module logic, or the standard RPi.bme280 package.
import smbus2
import bme280

port = 1
address = 0x76
bus = smbus2.SMBus(port)

calibration_params = bme280.load_calibration_params(bus, address)
data = bme280.sample(bus, address, calibration_params)

print(f'Temp: {data.temperature:.2f}°C')
print(f'Humidity: {data.humidity:.2f}%')
print(f'Pressure: {data.pressure:.2f}hPa')
Advanced Troubleshooting and Failure Modes
When deploying these sensors in real-world electrical environments, you will encounter specific failure modes. Here is how to diagnose them based on decades of field experience:
- DS18B20 Returns 85.0°C: This is the power-on reset default value. It means the sensor is communicating, but it did not receive enough current to perform the actual temperature conversion. Check your 3.3V power rail and ensure you aren't relying on parasitic power.
- DS18B20 Returns -127.0°C or No Device Found: The Pi cannot see the ROM address. This is almost always a missing 4.7kΩ pull-up resistor, or a cable length exceeding 15 meters. For long cable runs (up to 50m), lower the pull-up resistor to 2.2kΩ or 1kΩ to overcome the capacitance of the long copper wire.
- BME280 'OSError: [Errno 121] Remote I/O error': As documented in the Raspberry Pi Hardware Configuration Docs, this happens when the sensor holds the SCL line low (clock stretching) longer than the Pi's I2C hardware timeout allows. Lowering the baudrate to 10kHz (as shown above) or utilizing a software I2C bit-banging overlay resolves this.
- BME280 Humidity Reads 100% Constantly: The sensor's humidity membrane is saturated or contaminated with volatile organic compounds (VOCs) from soldering flux or 3D printer off-gassing. Bake the sensor at 60°C for 12 hours to evaporate trapped moisture.
By understanding the underlying physics of the 1-Wire open-drain bus and the I2C clock-stretching limitations of the Broadcom SoCs, you can build robust, fail-safe environmental monitoring nodes that will run uninterrupted for years.