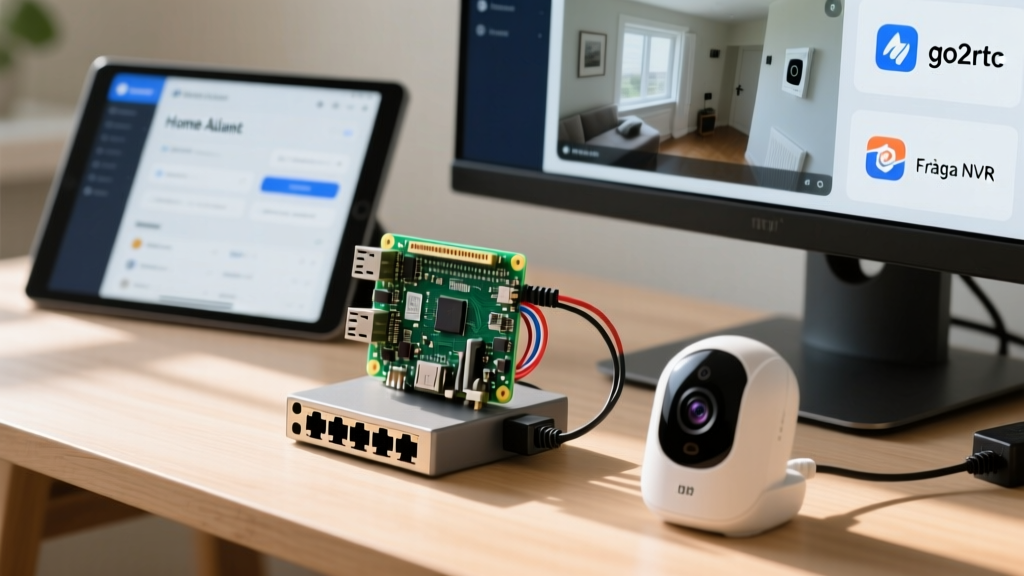

Transitioning from cloud-dependent security ecosystems to a localized, privacy-first smart home is a major milestone for DIY enthusiasts. When you configure a Raspberry Pi to view IP camera feeds locally, you eliminate monthly subscription fees, bypass internet outages, and achieve sub-second latency on your dashboards. However, simply pasting an RTSP URL into a dashboard widget is a recipe for lag, dropped frames, and thermal throttling. In this comprehensive guide, we explore the exact hardware matrices, network topologies, and software stacks required to build a robust, multi-camera NVR and viewing station using a Raspberry Pi, Home Assistant, and Frigate NVR.
The Architecture: Local Processing vs. Cloud Reliance
Most commercial IP cameras (like Ring or Nest) route video through external servers, introducing a 2 to 5-second delay and a reliance on your WAN bandwidth. By deploying a Raspberry Pi as a local bridge, you pull the RTSP (Real-Time Streaming Protocol) stream directly over your LAN. The Pi acts as a transcoder and AI inference engine, converting raw H.264/H.265 streams into WebRTC for browser viewing, while simultaneously running object detection to trigger smart home automations—like turning on the porch lights when a person is detected.
Hardware Selection Matrix: Pi 4 vs. Pi 5 for Multi-Camera NVR
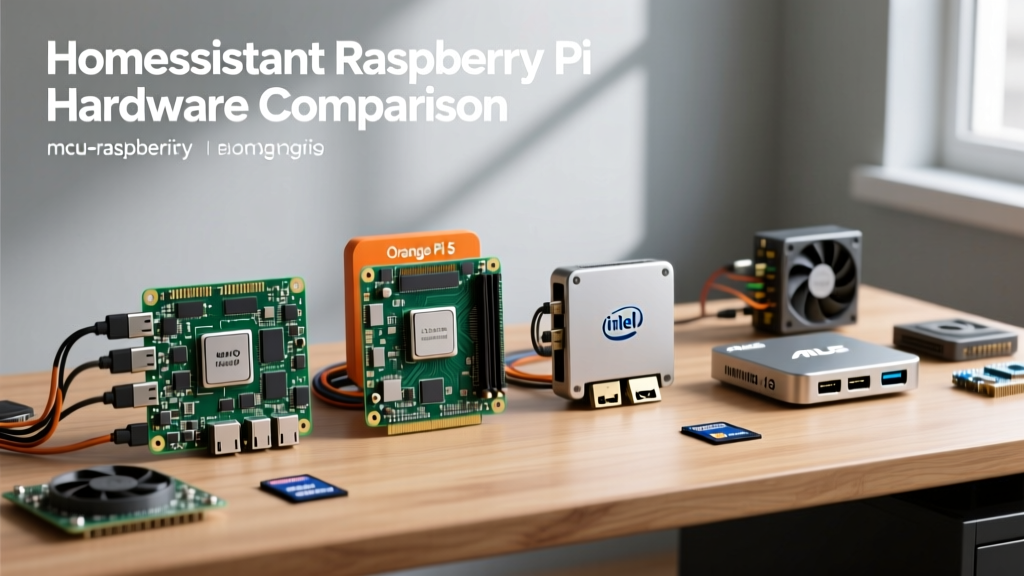
Not all single-board computers handle multiple concurrent video streams equally. Decoding, AI inference, and database writes heavily tax the CPU and I/O bus. Below is a decision framework based on real-world testing with 1080p and 4K RTSP streams.
| Hardware Configuration | Est. Cost (2026) | Max Concurrent Streams | AI Object Detection | Storage / I/O Bottleneck |
|---|---|---|---|---|
| Raspberry Pi 4 Model B (8GB) | $75 | 4-5 (1080p H.264) | CPU Only (High Lag) | SD Card (High Failure Rate) |
| Raspberry Pi 5 (8GB) + Active Cooler | $95 | 8-10 (1080p/4K) | CPU (Moderate Lag) | NVMe via PCIe HAT (Optimal) |
| Pi 4 (8GB) + Google Coral USB TPU | $135 | 4-5 (1080p H.264) | Hardware Accelerated | USB 3.0 SSD (Good) |
Information Gain: If you plan to run Frigate NVR for AI detection, the Raspberry Pi 5's improved Cortex-A76 CPU allows for basic CPU-based inference, but pairing a Pi 4 with a Google Coral USB Accelerator remains the most cost-effective way to achieve 30+ FPS inference rates without thermal throttling.
Network Topology and RTSP Bottlenecks
The most common failure mode when setting up a Raspberry Pi to view IP camera streams is network saturation. A single 4K IP camera streaming at 8Mbps can quickly congest a 2.4GHz Wi-Fi network, resulting in the dreaded 'green screen' or macro-blocking artifacts in Home Assistant.
- Hardwire the Pi: Always use Gigabit Ethernet for the Raspberry Pi. Wi-Fi introduces jitter that breaks TCP/UDP RTSP packet reassembly.
- PoE Integration: Use the official Raspberry Pi PoE+ HAT to deliver up to 25.5W (802.3at) over a single Ethernet cable. This is critical if you are running a Coral TPU and an external NVMe drive, which can spike power draw to 15W under heavy AI loads. Standard 802.3af (15.4W) switches may cause kernel brownout warnings.
- Camera VLAN: Isolate your IP cameras on a dedicated VLAN. This prevents multicast/broadcast traffic from flooding your primary smart home network.
Step-by-Step: Configuring go2rtc for Sub-Second Latency
Native RTSP streams are not supported by modern web browsers. To make your Raspberry Pi view IP camera feeds directly in the Home Assistant dashboard without a 10-second HLS delay, you must use go2rtc. This lightweight tool transcodes RTSP to WebRTC (Web Real-Time Communication), dropping latency to under 500ms.
Add the following configuration to your Home Assistant configuration.yaml or the go2rtc add-on config:
go2rtc:
  streams:
    driveway_cam:
      - rtsp://admin:SecurePass123@192.168.50.10:554/h264Preview_01_sub
    porch_cam:
      - rtsp://admin:SecurePass123@192.168.50.11:554/cam/realmonitor?channel=1&subtype=1
Pro-Tip on Sub-Streams: Notice the _sub and subtype=1 in the URLs above. Always use the camera's sub-stream (usually 640x480 or 720p at 15fps) for live dashboard viewing. This saves massive amounts of CPU decoding overhead on the Pi. Reserve the main 4K stream exclusively for Frigate NVR recording and AI analysis.
Integrating Frigate NVR for AI Object Detection
To move beyond simple viewing and into smart automation, integrate Frigate NVR. Frigate runs as a Docker container or Home Assistant Add-on and utilizes the RTSP streams to detect people, cars, and animals.
When configuring Frigate on a Raspberry Pi, ensure you map the /media/frigate directory to an external SSD or NVMe drive. Frigate continuously writes SQLite database entries and caches 10-second MP4 clips. Running this workload on a microSD card will result in I/O exhaustion and card corruption within weeks.
Real-World Troubleshooting: Thermal and Codec Failure Modes
Even with perfect configuration, hardware and codec mismatches can derail your setup. Here is how to diagnose the most common issues encountered when using a Pi as an NVR.
1. H.265 (HEVC) Codec Mismatches
Modern IP cameras (like the Reolink RLC-520A or Amcrest 4K series) default to H.265 compression to save bandwidth. However, the WebRTC standard and many Chromium-based browsers lack native hardware decoding for H.265 on ARM Linux. If your dashboard shows a black screen or fails to load, log into your camera's web UI and force the video codec to H.264 (Baseline or Main Profile). Audio must also be set to AAC or G.711; browsers will reject RTSP streams with unsupported audio codecs entirely.
2. Thermal Throttling and Dropped Frames
The Raspberry Pi 4 begins to throttle its CPU at 80°C, and the Pi 5 at 85°C. When throttling occurs, the RTSP buffer overflows, causing the live view to freeze or skip ahead. Monitor your thermals via the terminal:
vcgencmd measure_tempIf you are consistently hitting 75°C+ under load, you must upgrade to an active cooling solution. For the Pi 5, the official Active Cooler is mandatory when running Frigate. For the Pi 4, a copper heatsink paired with a 5V PWM-controlled fan is required to sustain 24/7 NVR operations.
3. SD Card I/O Exhaustion
If your Home Assistant dashboard suddenly becomes unresponsive and the RTSP streams fail to reconnect after a reboot, your SD card has likely entered read-only mode due to degraded NAND flash cells. To prevent this, use the Raspberry Pi Imager to clone your OS to a SATA SSD via a USB 3.0 enclosure (for Pi 4) or an M.2 NVMe drive via the PCIe HAT (for Pi 5). This single hardware upgrade increases I/O throughput by 10x and eliminates the most common point of failure in Pi-based smart home hubs.
Conclusion
Configuring a Raspberry Pi to view IP camera feeds locally transforms your smart home from a reactive cloud-dependent system into a proactive, privacy-secured fortress. By selecting the right hardware matrix, utilizing go2rtc for WebRTC transcoding, and isolating your network topology, you can achieve a professional-grade NVR experience that rivals commercial offerings without the recurring costs.