
The Architecture of a Headless Pi Cluster: Network Boot Raspberry Pi
Running a headless cluster of Raspberry Pi single-board computers for Kubernetes, Home Assistant, or distributed rendering introduces a critical point of failure: the microSD card. SD cards are notorious for silent corruption and wear-leveling exhaustion when subjected to the constant read/write cycles of Docker containers and database logging. While USB SSDs solve the wear issue, managing cables and power limits for a 5-node cluster is a logistical nightmare.
The enterprise-grade solution is to network boot Raspberry Pi nodes via PXE (Preboot Execution Environment). By serving the bootloader over TFTP and mounting the root filesystem over NFS (Network File System), you eliminate local storage entirely. This software walkthrough details the exact configuration required to build a robust PXE server for Raspberry Pi 4 and Pi 5 models, ensuring your cluster remains stateless and highly available.
Hardware Compatibility & Bootloader Matrix
Not all Raspberry Pi models handle network booting identically. The silicon ROM embedded in the SoC dictates how the device searches for a bootloader. Below is the compatibility matrix for modern deployments.
| Model | Native PXE Support | Required Boot Order (Hex) | Bootloader Tool |
|---|---|---|---|
| Pi 3B+ | Yes (Legacy/Flaky) | 0x21 | N/A (OTP Bit) |
| Pi 4B | Yes (Stable) | 0xf41 | rpi-eeprom-config |
| Pi 5 | Yes (Native) | 0xf41 | rpi-eeprom-config |
Pro-Tip: The hex value 0xf41 translates to: Try Network (4), fallback to SD Card (1), and restart the sequence on failure (f). Always use the latest EEPROM firmware to avoid early 2019 TFTP timeout bugs.
Phase 1: EEPROM Bootloader Preparation
Before a Pi 4 or Pi 5 can request files over the network, its internal EEPROM must be instructed to look for a DHCP server. You will need to temporarily boot your target Pi from an SD card to perform this one-time configuration.
Updating and Editing the EEPROM
First, ensure your system is fully updated and running the latest bootloader binaries:
sudo apt update && sudo apt full-upgrade -y
sudo rpi-eeprom-update -a
sudo reboot
Once rebooted, open the EEPROM configuration editor:
sudo -E rpi-eeprom-config --editLocate the BOOT_ORDER line. If it doesn't exist, add it to the bottom of the file. Change it to:
BOOT_ORDER=0xf41Save and exit. The system will flash the updated configuration to the EEPROM. You can now safely remove the SD card; the Pi is ready for diskless operation.
Phase 2: Building the dnsmasq PXE Server
To network boot Raspberry Pi devices, you need a server to hand out IP addresses and point the Pi to the boot files. We use dnsmasq because it elegantly combines DHCP and TFTP into a single, lightweight daemon.
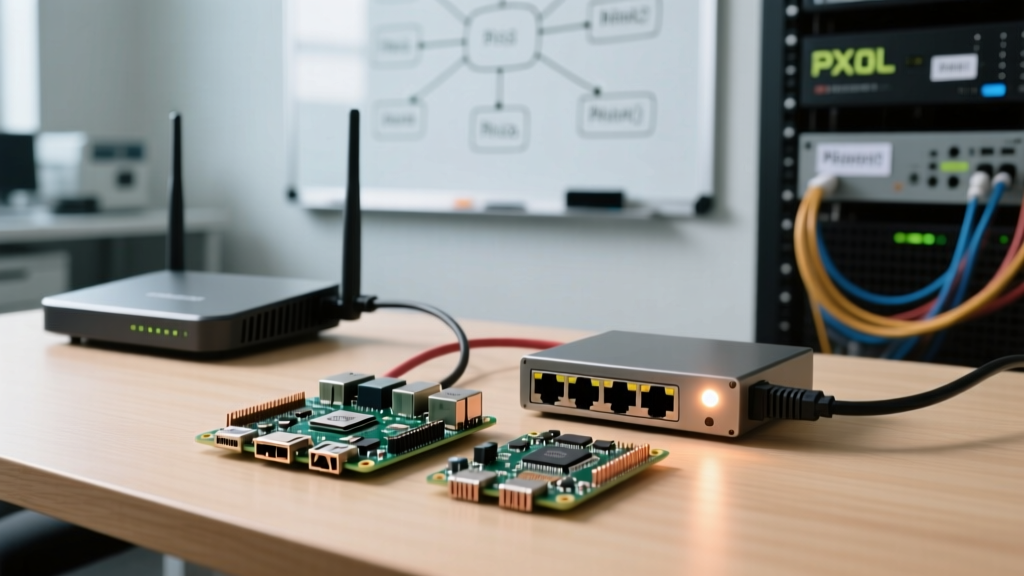
CRITICAL WARNING: Running a rogue DHCP server on your main home LAN will cause catastrophic network collisions. It is highly recommended to perform this setup on an isolated VLAN, a dedicated dumb switch, or via a direct Ethernet crossover cable between your host server and the Pi.
Installing and Configuring dnsmasq
On your host server (which can be another Pi, an Intel NUC, or a Linux VM), install the required packages:
sudo apt install dnsmasq nfs-kernel-server -yBack up the default configuration and create a clean PXE-specific config:
sudo mv /etc/dnsmasq.conf /etc/dnsmasq.conf.bak
sudo nano /etc/dnsmasq.conf
Insert the following configuration, assuming your host server's IP is 192.168.50.10 and your isolated subnet is 192.168.50.x:
port=0
dhcp-range=192.168.50.100,192.168.50.200,12h
dhcp-option=3,192.168.50.10
dhcp-option=6,192.168.50.10
enable-tftp
tftp-root=/tftpboot
dhcp-match=set:broadcom,option:vendor-class,Broadcom
dhcp-boot=tag:broadcom,bootcode.bin
pxe-service=0,"Raspberry Pi Boot"
According to the official dnsmasq documentation, the pxe-service directive is vital for devices that don't strictly adhere to standard x86 PXE ROM behaviors, ensuring the Pi's Broadcom SoC correctly parses the boot menu.
Phase 3: TFTP Boot Files and NFS Root Filesystem
The Pi's ROM will now request files via TFTP. However, TFTP is incredibly slow and lacks the concurrency required to serve a full Linux root filesystem. Therefore, we use TFTP only to load the kernel and initramfs, then pivot to NFS for the actual operating system.
Preparing the TFTP Directory
Create the TFTP root and copy the boot partition from a standard Raspberry Pi OS image:
sudo mkdir -p /tftpboot
sudo chmod -R 777 /tftpboot
# Mount your Pi OS SD card/IMG to /mnt/pi-boot, then:
sudo cp -r /mnt/pi-boot/* /tftpboot/
For Pi 4 and Pi 5 models, ensure you have the latest start4.elf (or start.elf for Pi 5) and fixup4.dat files. You can pull these directly from the Raspberry Pi firmware repository on GitHub if your SD card image is outdated.
Configuring the NFS Exports
Next, prepare the root filesystem. Copy the OS partition to your NFS share directory:
sudo mkdir -p /nfs/pi-root
sudo rsync -xa --progress /mnt/pi-root/ /nfs/pi-root/
Now, configure the NFS server to export this directory. Edit /etc/exports:
/nfs/pi-root 192.168.50.0/24(rw,sync,no_root_squash,no_subtree_check)The no_root_squash flag is non-negotiable here. Without it, the NFS server will map the Pi's root user requests to an anonymous user, resulting in an immediate kernel panic when the Pi attempts to read /sbin/init during boot.
Restart the services to apply the changes:
sudo systemctl restart dnsmasq
sudo systemctl restart nfs-kernel-server
sudo exportfs -ra
Phase 4: Modifying the Pi's Boot Parameters
The Pi needs to know where to find its root filesystem. Edit the cmdline.txt file located inside your TFTP boot directory (/tftpboot/cmdline.txt).
Remove any references to root=/dev/mmcblk0p2 and replace them with the NFS mount parameters:
console=serial0,115200 console=tty1 root=/dev/nfs nfsroot=192.168.50.10:/nfs/pi-root,vers=4,tcp rw ip=dhcp rootwaitAdditionally, edit the /nfs/pi-root/etc/fstab file. Comment out the local SD card mount lines (e.g., /dev/mmcblk0p1 and /dev/mmcblk0p2) to prevent the OS from hanging while searching for physical drives that no longer exist.
Debugging: When the Pi Refuses to Boot
Network booting involves multiple network handshakes. If your Pi fails to boot, do not guess—use the hardware indicators and serial console to diagnose the exact failure point.
LED Blink Code Diagnostics
The Raspberry Pi 4 and 5 utilize the green activity LED to signal bootloader status. If the screen remains black, count the green LED blinks:
- 4 Quick Blinks: Bootloader files (
start.elf) not found on the TFTP server. Check yourdnsmasqlogs (journalctl -u dnsmasq -f) to see if the Pi is requesting a file you haven't provided. - Continuous Slow Blinking: The Pi is stuck in a TFTP timeout loop. This usually indicates a firewall on your host server blocking UDP port 69, or a subnet mismatch.
- Solid Green/No Activity: The EEPROM
BOOT_ORDERis incorrect, or the Pi is falling back to an empty SD card slot.
Using the UART Serial Console
For advanced troubleshooting, connect a USB-to-TTL serial cable to the Pi's GPIO header (Ground to Ground, TX to RX, RX to TX). Open a terminal on your host machine at 115200 baud:
screen /dev/ttyUSB0 115200This will output the raw bootloader logs, showing exactly which DHCP offer was accepted, the TFTP transfer speeds, and the exact kernel panic message if the NFS mount fails. For deeper architectural insights, refer to the Raspberry Pi Network Boot Documentation.
Summary: The Stateless Advantage
By mastering how to network boot Raspberry Pi hardware, you transition from fragile, SD-card-dependent toys to enterprise-grade, stateless compute nodes. If a Pi suffers a hardware fault, you simply swap the board; it will instantly pull its exact state from the NFS server via PXE, reducing cluster maintenance time from hours to seconds.