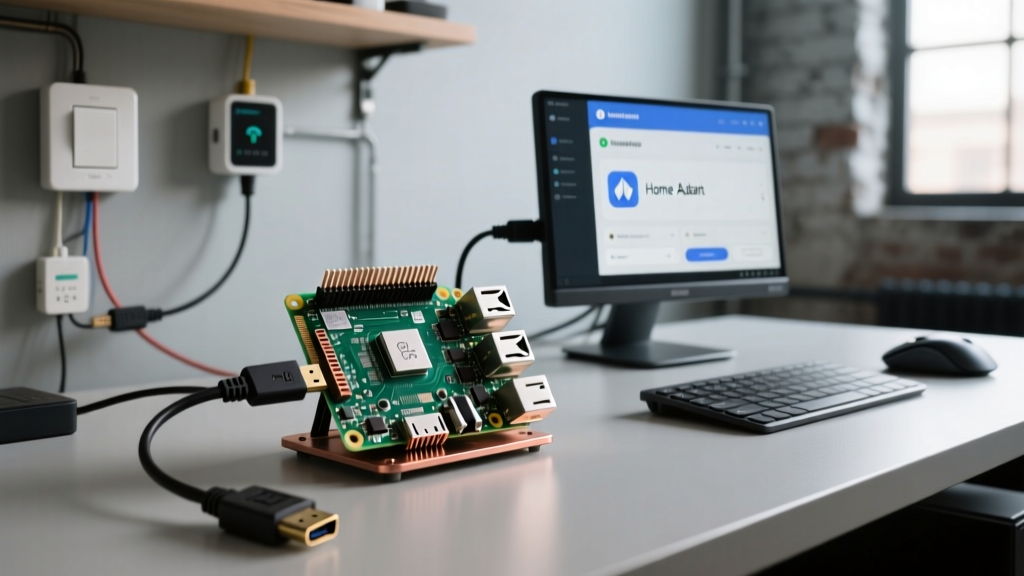

Setting up a headless single-board computer is a rite of passage for any maker, but losing network connectivity or forgetting to configure remote access before booting can turn a simple project into a frustrating roadblock. When you need to enable SSH for Raspberry Pi devices without a monitor or keyboard, you are ultimately relying on the physical hardware interfaces available on your specific board. While most tutorials focus purely on software commands, understanding the hardware pathways—SD card boot partitions, UART serial GPIO pins, and USB On-The-Go (OTG) data ports—is critical for reliable, failsafe access.
In this comprehensive hardware comparison, we break down the physical interfaces required to establish that initial SSH connection across the Raspberry Pi 3B+, Pi 4B, Pi 5, and Pi Zero 2 W. We will explore the exact tools, wiring diagrams, and port limitations you need to know to regain control of your SBC.
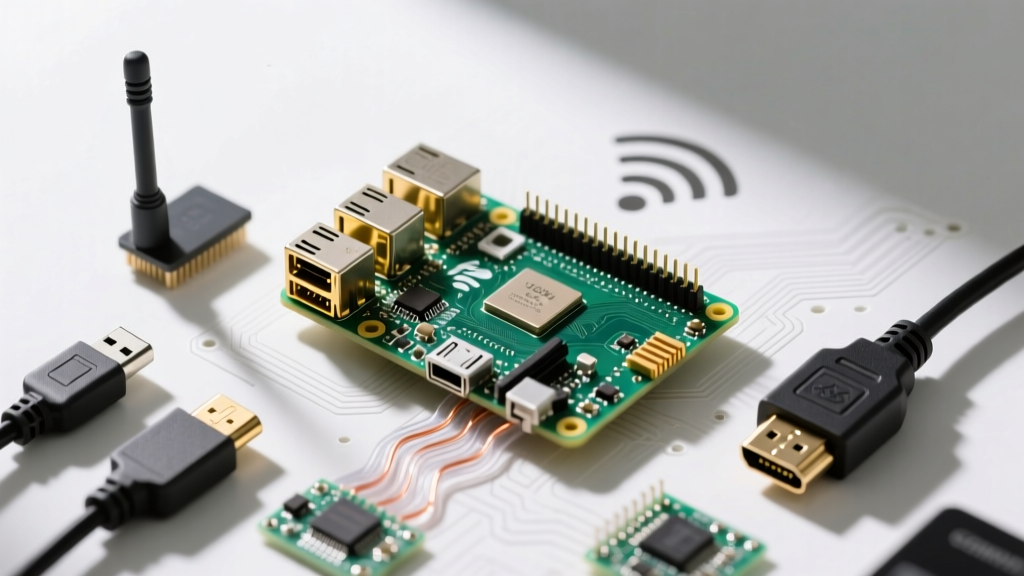
The 3 Hardware Pathways to Remote Access
Before diving into model-specific quirks, it is essential to understand the three physical hardware methods used to bootstrap an SSH connection. Each method requires different physical tools and interacts with the Pi's System-on-Chip (SoC) in a unique way during the boot sequence.
- The SD Boot Partition Method: Relies on the physical microSD card and an external card reader. The bootloader reads a specific zero-byte file to trigger the SSH daemon on startup.
- The UART Serial Console Method: Bypasses the network stack entirely by using the physical GPIO header pins to establish a direct, hardwired serial terminal connection to the Linux kernel.
- The USB OTG Gadget Method: Repurposes the physical power/data port to act as a virtual Ethernet adapter, allowing a direct SSH connection over a USB cable from a host PC.
Model-by-Model Hardware Comparison Table
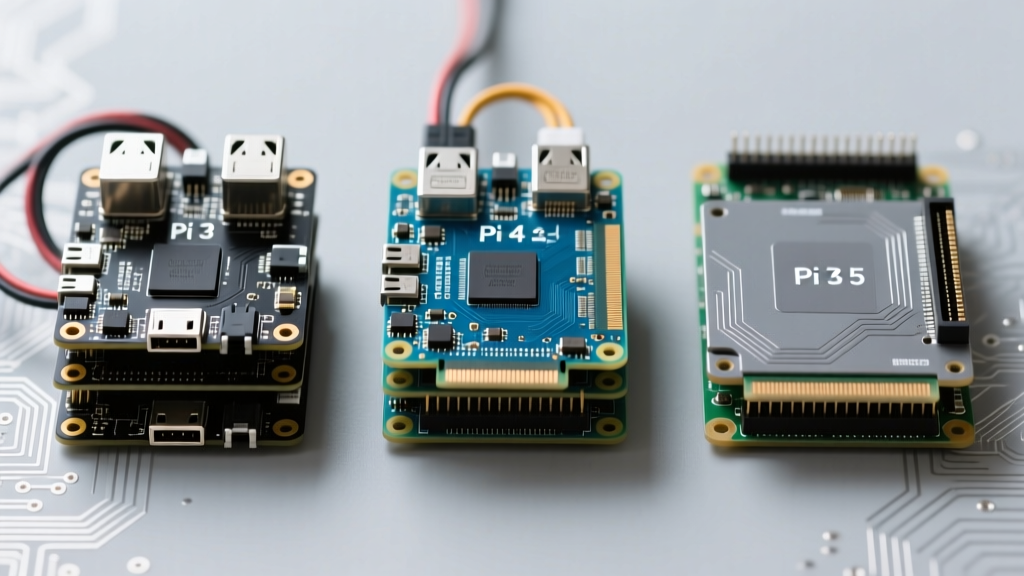
Not all Raspberry Pi boards are wired equally. The physical ports dictate which fallback method you can use when Wi-Fi or Ethernet fails. Below is a hardware comparison of the most popular models.
| SBC Model | Primary Power/Data Port | UART GPIO Pins | USB OTG Gadget Support | Best Failsafe Hardware Method |
|---|---|---|---|---|
| Raspberry Pi 3B+ | Micro-USB (Power Only) | Pin 8 (TX), Pin 10 (RX) | No | UART Serial or SD Card |
| Raspberry Pi 4B | USB-C (Power + Data) | Pin 8 (TX), Pin 10 (RX) | Yes | USB-C OTG or SD Card |
| Raspberry Pi 5 | USB-C (Power + Data) | Pin 8 (TX), Pin 10 (RX) | Yes | USB-C OTG or UART |
| Pi Zero 2 W | Micro-USB (Data + Power) | Pin 8 (TX), Pin 10 (RX) | Yes (via Data Port) | Micro-USB OTG |
Method 1: The SD Card Boot Partition (Universal Hardware)
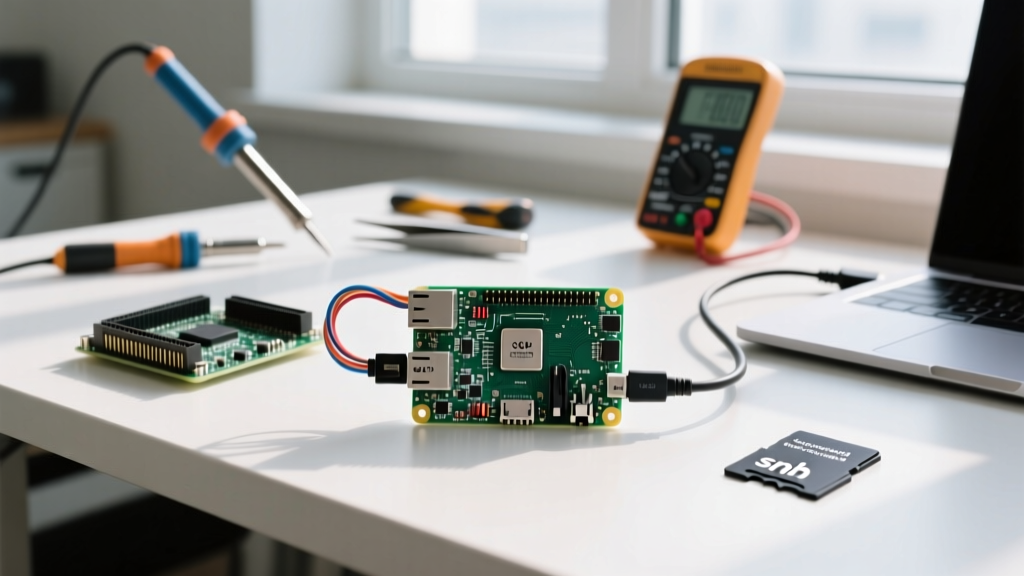
The most common way to enable SSH for Raspberry Pi units in a headless state is via the physical microSD card. This method requires removing the storage media and using a hardware USB SD card reader connected to your primary workstation.
The Bookworm OS Paradigm Shift
Historically, placing an empty file named ssh (no extension) in the root of the boot or bootfs partition was enough. However, with the release of Raspberry Pi OS Bookworm, security changes altered this hardware-software handshake. Because the default 'pi' user no longer exists, simply creating the ssh file will enable the daemon, but you will have no credentials to log in.
To solve this via hardware prep, you must also create a userconf.txt file in the same boot partition. This file must contain a single line of text formatted as username:hashed-password. You can generate the hashed password using OpenSSL on your host machine. Alternatively, using the official Raspberry Pi Imager software allows you to inject these configurations directly into the OS image before flashing, bypassing the need for manual file creation.
Method 2: UART Serial Console via GPIO Pins
When the SD card is corrupted, or the OS fails to load network drivers, the Universal Asynchronous Receiver-Transmitter (UART) interface is your ultimate hardware lifeline. The UART provides a raw, unfiltered serial console directly to the bootloader and kernel, completely independent of the network stack.
Required Hardware and Wiring
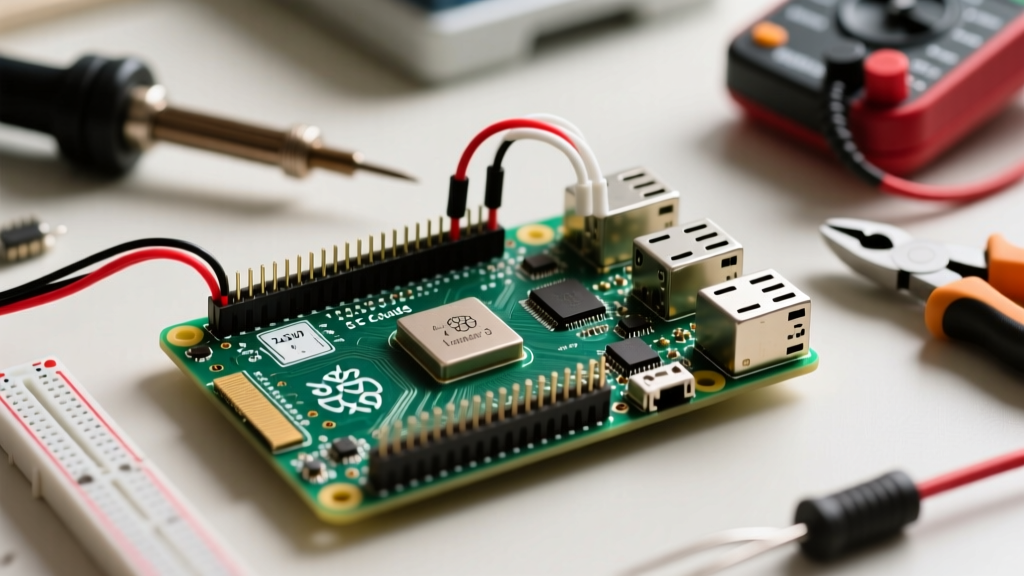
To use this method, you need a USB-to-TTL Serial Adapter. Common chipsets include the CP2102, PL2303, and CH340G. You will connect the adapter's jumper wires to the Raspberry Pi's 40-pin GPIO header. According to the standard Pinout.xyz UART documentation, the physical connections are:
- Ground (GND): Connect Adapter GND to Pi GPIO Pin 6.
- Receive (RX): Connect Adapter RX to Pi GPIO Pin 8 (TXD).
- Transmit (TX): Connect Adapter TX to Pi GPIO Pin 10 (RXD).
Critical Hardware Warning: The Raspberry Pi GPIO pins operate at 3.3V logic levels. Never connect a 5V TX line from an Arduino or older serial adapter to the Pi's RX pin (Pin 10). Doing so will permanently destroy the SoC's UART controller and potentially fry the entire board. Always verify your adapter's logic level with a multimeter before connecting.
Establishing the Connection
Once wired, open a terminal emulator like PuTTY or screen on your host PC, select the COM port assigned to your USB-TTL adapter, and set the baud rate to 115200. Power on the Pi. You will see the boot sequence scroll across your screen, eventually presenting a login prompt. From here, you can run sudo raspi-config to permanently enable the SSH daemon in the OS settings.
Method 3: USB OTG Ethernet Gadget Mode
The USB On-The-Go (OTG) gadget mode is a brilliant hardware trick that turns your Pi into a virtual USB Ethernet adapter. This allows you to plug the Pi directly into your laptop's USB port and SSH into it via a local link-local IP address (usually 169.254.x.x), requiring no Wi-Fi or external router.
Hardware Port Differences: Pi 4/5 vs. Zero 2 W
The physical implementation of USB OTG varies wildly depending on the board's hardware design:
- Raspberry Pi 4B and Pi 5: These boards use a USB-C port for both power delivery and data. To use OTG, you must plug a high-quality, data-capable USB-C cable from the Pi's USB-C power port directly into a USB-A or USB-C port on your host computer. The host PC will supply up to 5V/3A of power while simultaneously establishing a data link.
- Raspberry Pi Zero 2 W: This board features two micro-USB ports. The one labeled 'PWR' is power-only and lacks data lines. You must plug your micro-USB cable into the port labeled 'USB' (the outer port) to enable OTG gadget mode and draw power simultaneously.
Configuring the Hardware Interface
To enable this on the Pi 4 or 5, you must edit the config.txt and cmdline.txt files on the SD card's boot partition via your PC. Add dtoverlay=dwc2 to the bottom of config.txt. Then, in cmdline.txt, insert modules-load=dwc2,g_ether immediately after rootwait on the single line of text. Upon booting, the Pi's USB controller hardware will negotiate a data connection with your host PC, and you can SSH using the hostname raspberrypi.local.
Troubleshooting Hardware Connection Failures
Even with the correct configuration files, physical hardware anomalies frequently block SSH access. Here is how to troubleshoot the most common physical layer failures:
1. The 'Charge-Only' Cable Trap
If you are attempting USB-C OTG on a Pi 4 or Pi 5 and the host PC does not recognize the device (or the Pi fails to boot), you are likely using a charge-only USB-C cable. These cheap cables only contain the VBUS and GND wires, omitting the D+ and D- data lines required for the OTG handshake. Always test your cable with a multimeter for continuity on the inner data pins, or use a certified data-sync cable.
2. UART Mini-Clock Fluctuations
If your UART serial console outputs garbage characters instead of readable text, the baud rate is mismatched. The Raspberry Pi uses the 'mini UART' (/dev/serial0) by default, which ties its baud rate to the core clock frequency. If the CPU throttles, the serial connection breaks. To fix this hardware-level instability, add enable_uart=1 to your config.txt file. This forces the core clock to a stable frequency and maps the serial console to the more reliable PL011 hardware UART.
3. SD Card Reader Voltage Issues
When attempting the SD card boot partition method, some older, unpowered USB SD card readers fail to provide enough 3.3V current to properly read the card's boot sector, leading to silent failures where the ssh file is ignored. If your PC recognizes the drive but the Pi ignores your configurations, switch to a high-quality, branded USB 3.0 card reader to ensure stable voltage delivery to the NAND flash memory.
Conclusion
Knowing how to enable SSH for Raspberry Pi hardware is about more than just typing commands; it requires a deep understanding of the physical ports, logic levels, and cable specifications unique to your specific SBC model. By mastering the SD boot partition, the UART GPIO serial console, and the USB-C OTG data pathways, you ensure that you are never permanently locked out of your headless projects, regardless of network conditions or software glitches. Keep a USB-TTL adapter and a known-good data cable in your toolkit, and you will always have a physical backdoor into your Raspberry Pi.